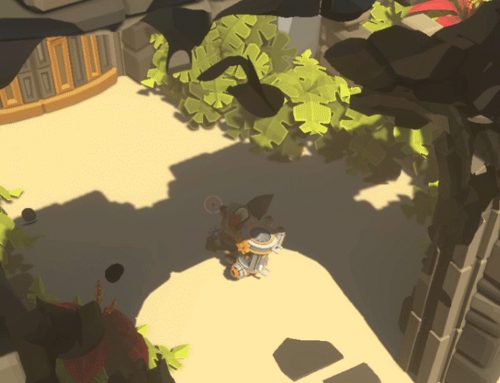
Hi, I’m Emiel De Paepe, one of the developers at Glowfish Interactive. We are currently working on our first indie title, Trifox.
Trifox is a top-down twin-stick action adventure game (that’s a mouthful) set in a unique and colorful world, inspired by classic platform games.
In Trifox you play as a multi-talented fox on a quest to restore their recently invaded and plundered home.
Mix and match between three different and unique play styles, fight your way through swarms of enemies, engage in thrilling boss fights and overcome exciting environmental challenges as you discover that there is more to your quest than meets the eye….
Water everywhere!
Up until recently we did not have much water in our game, except for some relaxing sandy beaches. But then one of our level designers decided it would be cool to have a platforming section where the player has to cross some river rapids. (He was right, of course!)
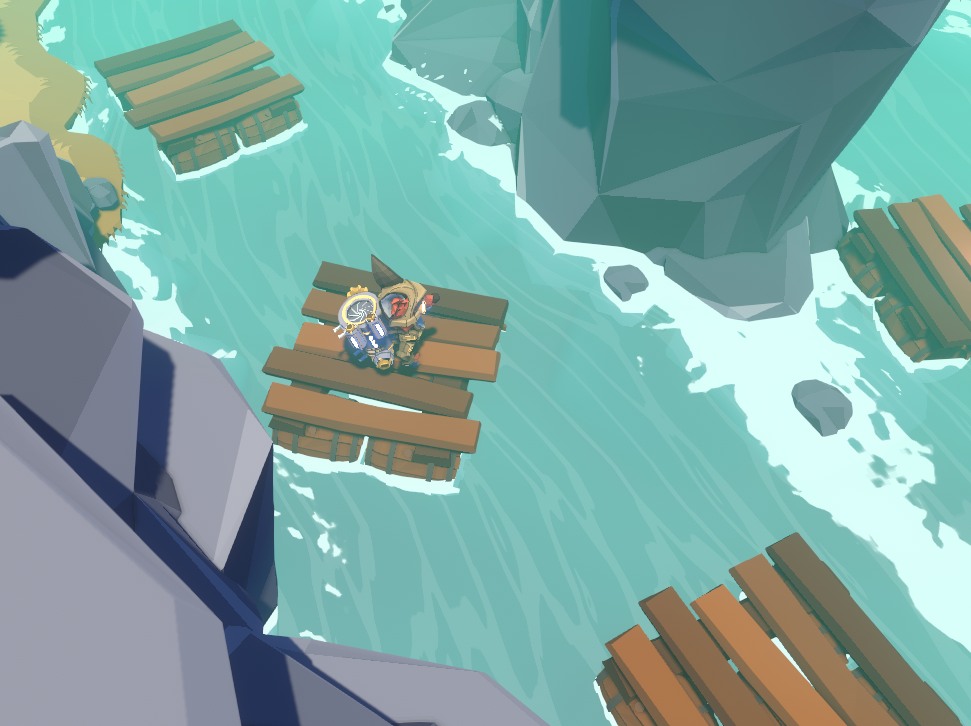
This did mean that the water systems we had in place were woefully inadequate to make this work.
So we set out to create a bunch of new shaders and VFX to provide us with fast moving, foamy water, waterfalls, splashes, … On top of that the player could fall in the water, so we also had to prepare for this (unfortunate) event. Today I am going to give you a breakdown of the splash the player makes when they drop to their wet demise. Let’s dive in! 😉
The Setup
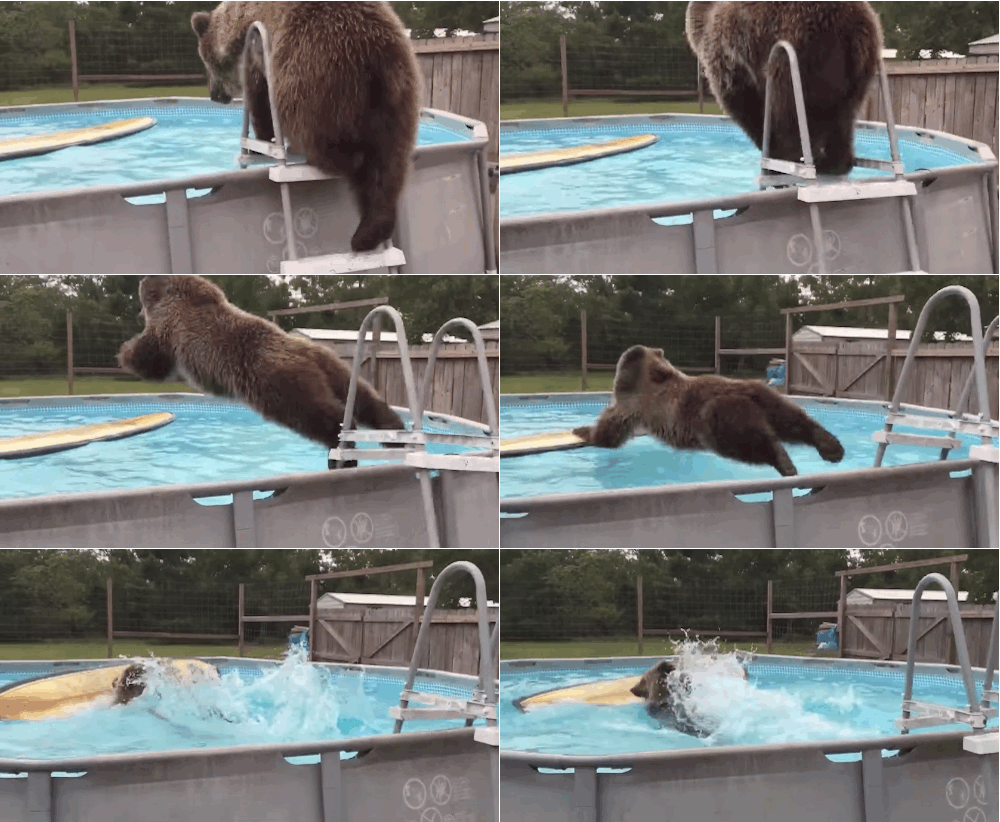
Our game uses a flat colored, low poly look, so that meant we had to make sure the water matched. In reality, when you drop an object in water, depending on the object, a larger body of water can be displaced but usually you only see a lot of smaller water spray splashing in all directions. This very high frequency of detail does not match our game so we wanted to stick to larger shapes. On top of that we wanted to exaggerate the splash so it feels more impactful.
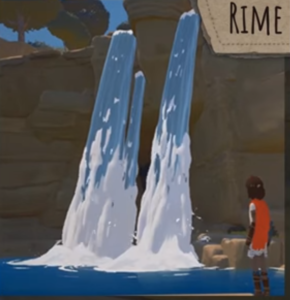
Typically, before I get started, I look around the web to see what other games have done to draw some inspiration from and I bumped into this amazing talk by Simon Trümpler aka Simon Schreibt (https://youtu.be/fwKQyDZ4ark). In it, amongst other things, he discusses how they created some of the waterfall effects in Rime. While not all techniques can be used in the same way for a water splash, it did point me in the direction of using geometry for the main body of the splash rather than try to do everything with particles and flipbooks, which would result in a very flat looking effect.
The Breakdown
Upward Water Body
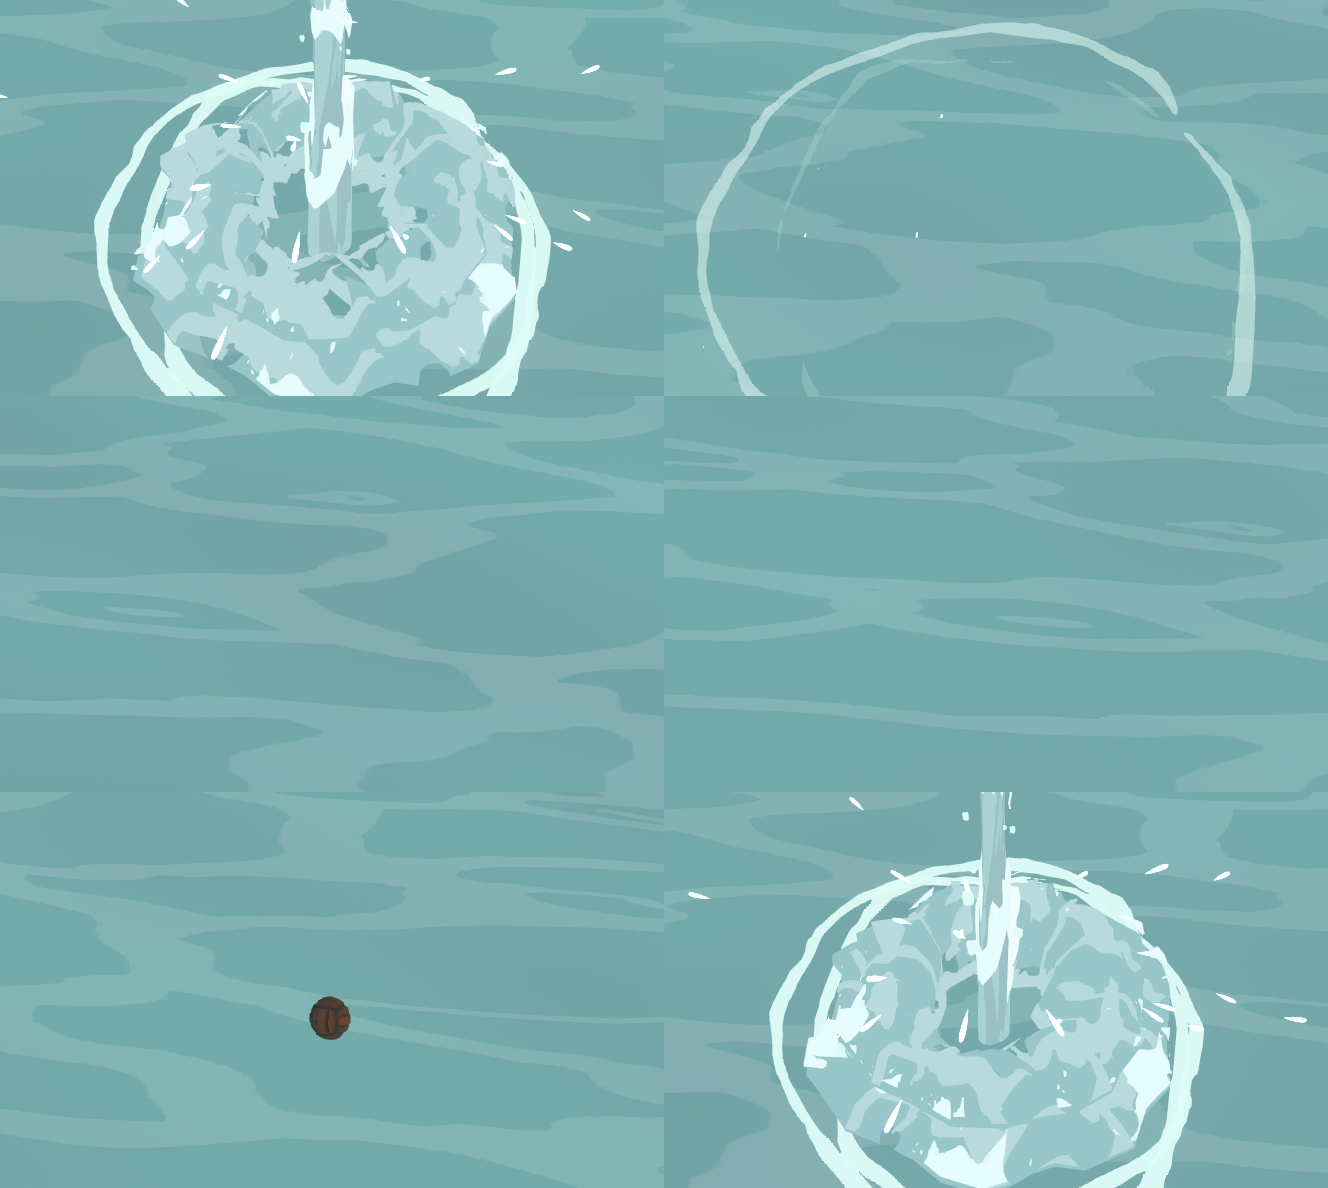
Let’s start simple. We need a body of water that splashes up and then drops back into the water.
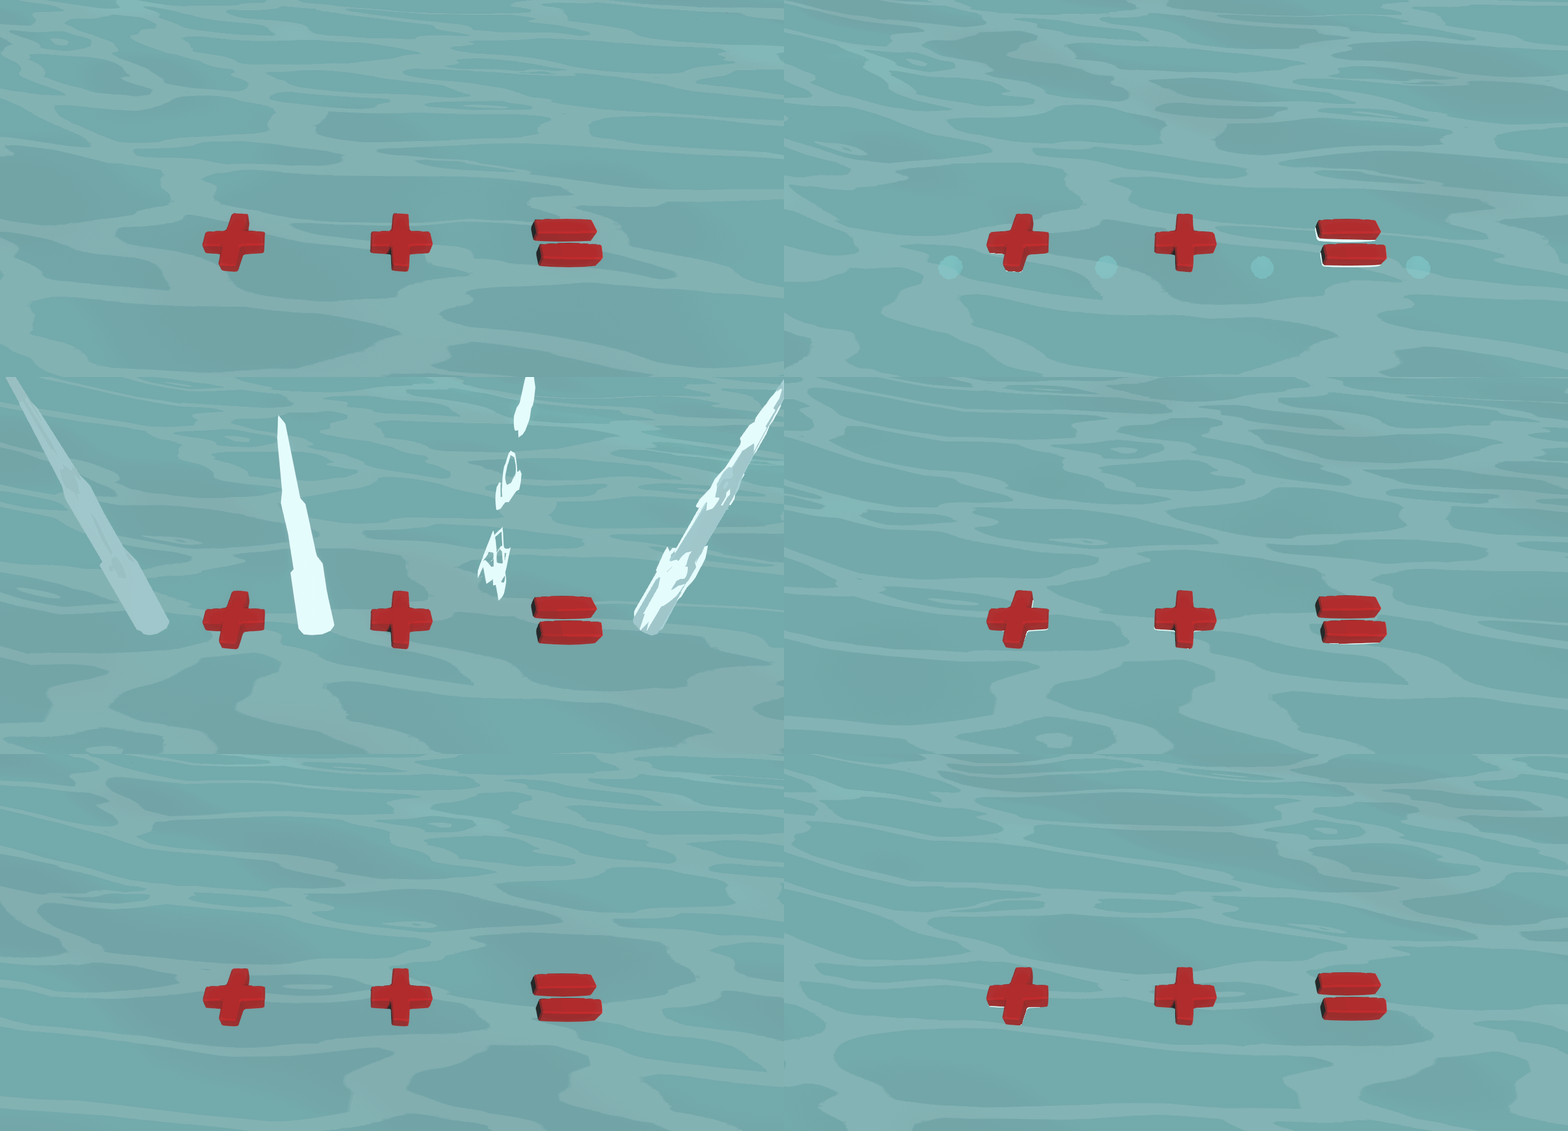
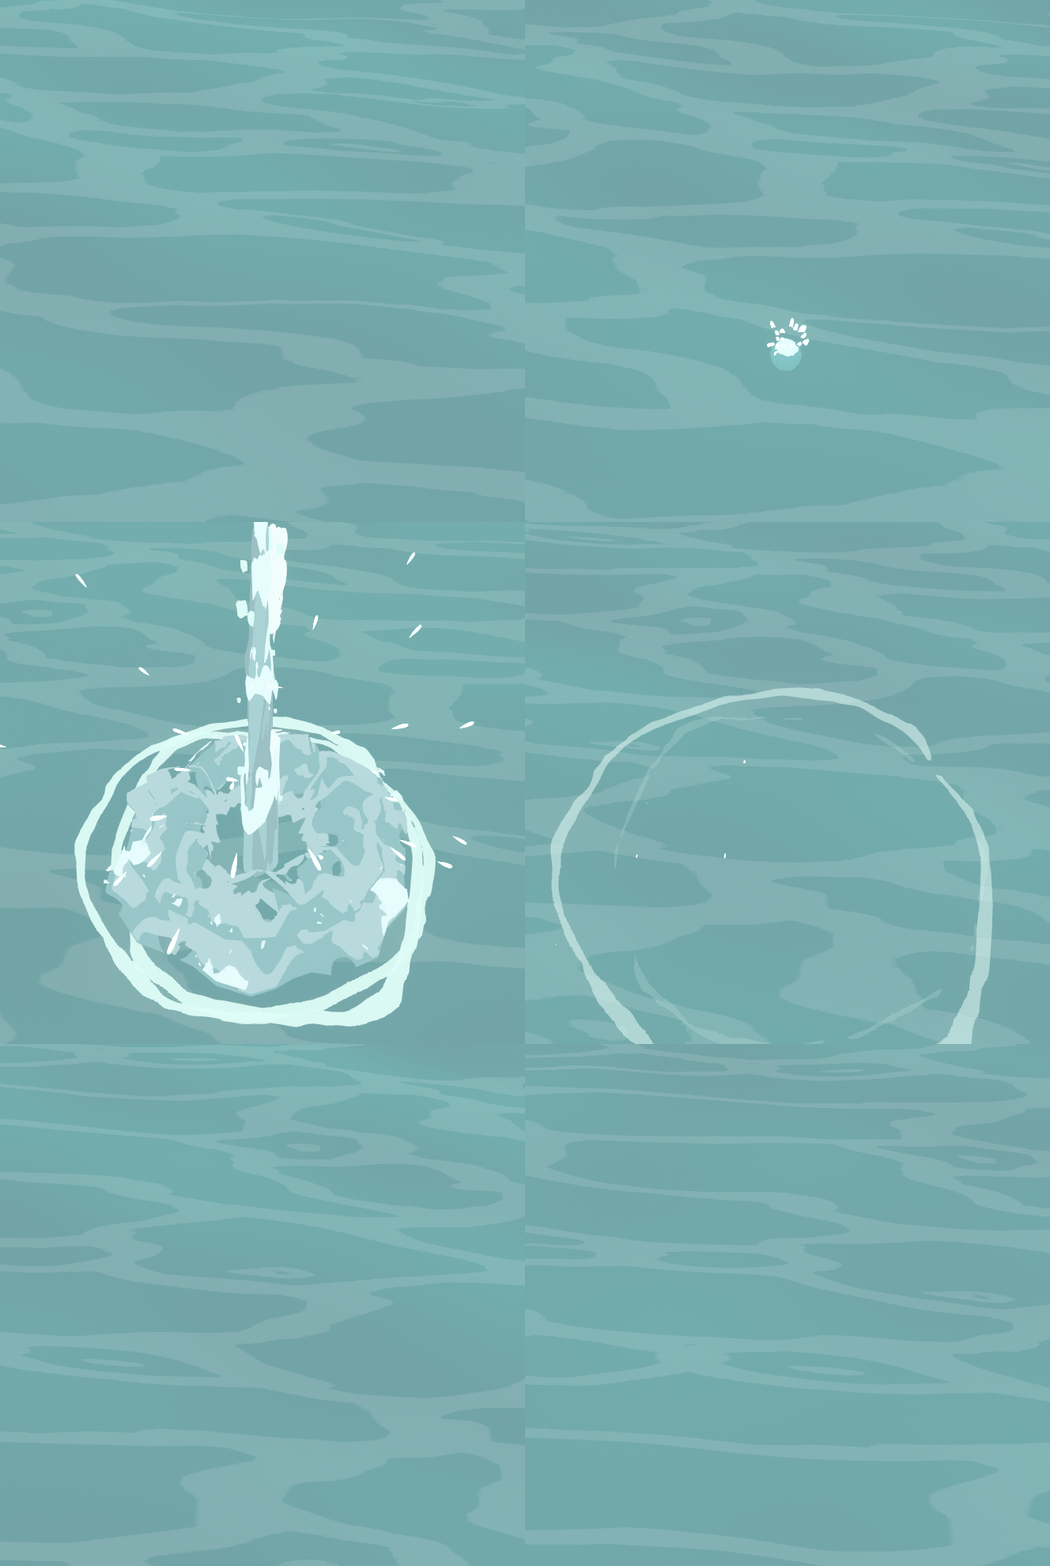
To achieve this we can adjust a simple cone to match the shape we want. Another similar mesh can be used to mix in the main water body to add some patches of foam. Finally from this mesh, we can cut out some rings and extrude them outwards to create some extra foam going around the cone. To make it all work, all we need to do is have each mesh scale up and then back down over it’s lifetime and we get the above result.
As this forms the core the effect, we should avoid too much color variation; as this would create visual noise, giving less freedom to add additional layers of detail. The focus here is the silhouette.
Radial Water Body
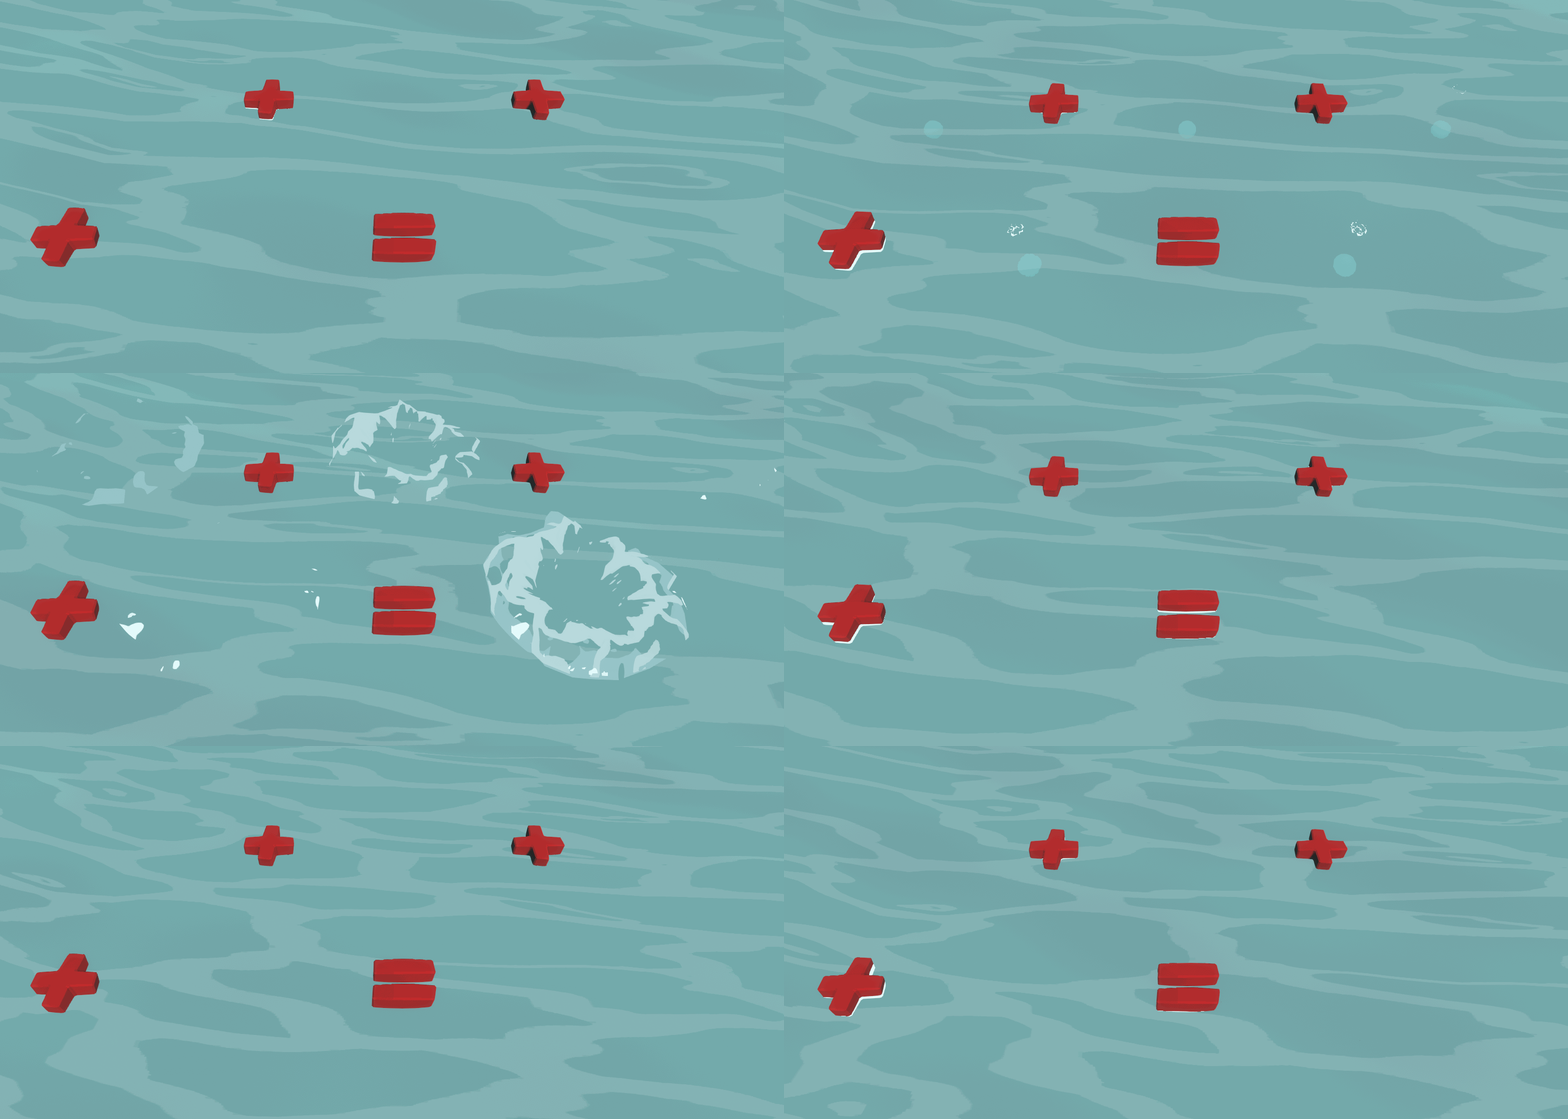
Of course we also need water splashing sideways. So with a similar approach we can create a cone mesh going outwards, and scale it up over time.
For this part of the effect some extra sense of directionality would help so rather than going with one color we will add indication of water waves. To do this a few things are going on, we start with a few variations of simple panning textures like these:
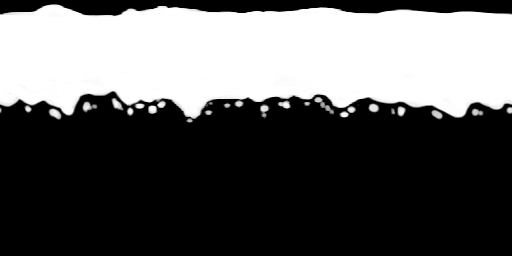
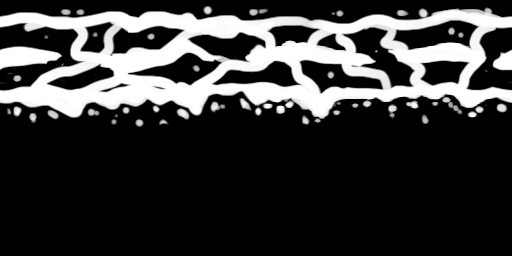
The bottom half of the texture is empty, like this we can pan from the empty area towards the textured part to fake a growing volume of water, and then back into the empty area when the water has to disappear. To improve the vanishing of the water further we make use of the dissolve technique we have come to use A LOT in this project. More information can be found in a previous blog post: https://www.trifox-game.com/dissolving-the-world-part-2/).
The TLDR is: we generate a simple Perlin noise based on world space and use that noise in the shader to clip parts of the mesh away. The amount that gets clipped progresses over time. To finish this up, we use a vertex color gradient going from the center to the edges to make sure the center dissolves first.
Bringing a few layers of this together with different colors, panning speeds and dissolve thresholds, gives us the result above.
After that we duplicate the effect and scale it down over the Y axis. (I combined both effects in one mesh, as this means less particle emitters.) This is to make sure the effect is more grounded on the water surface. If we do not do this, the effect might feel tagged on a bit.
Foam Spray
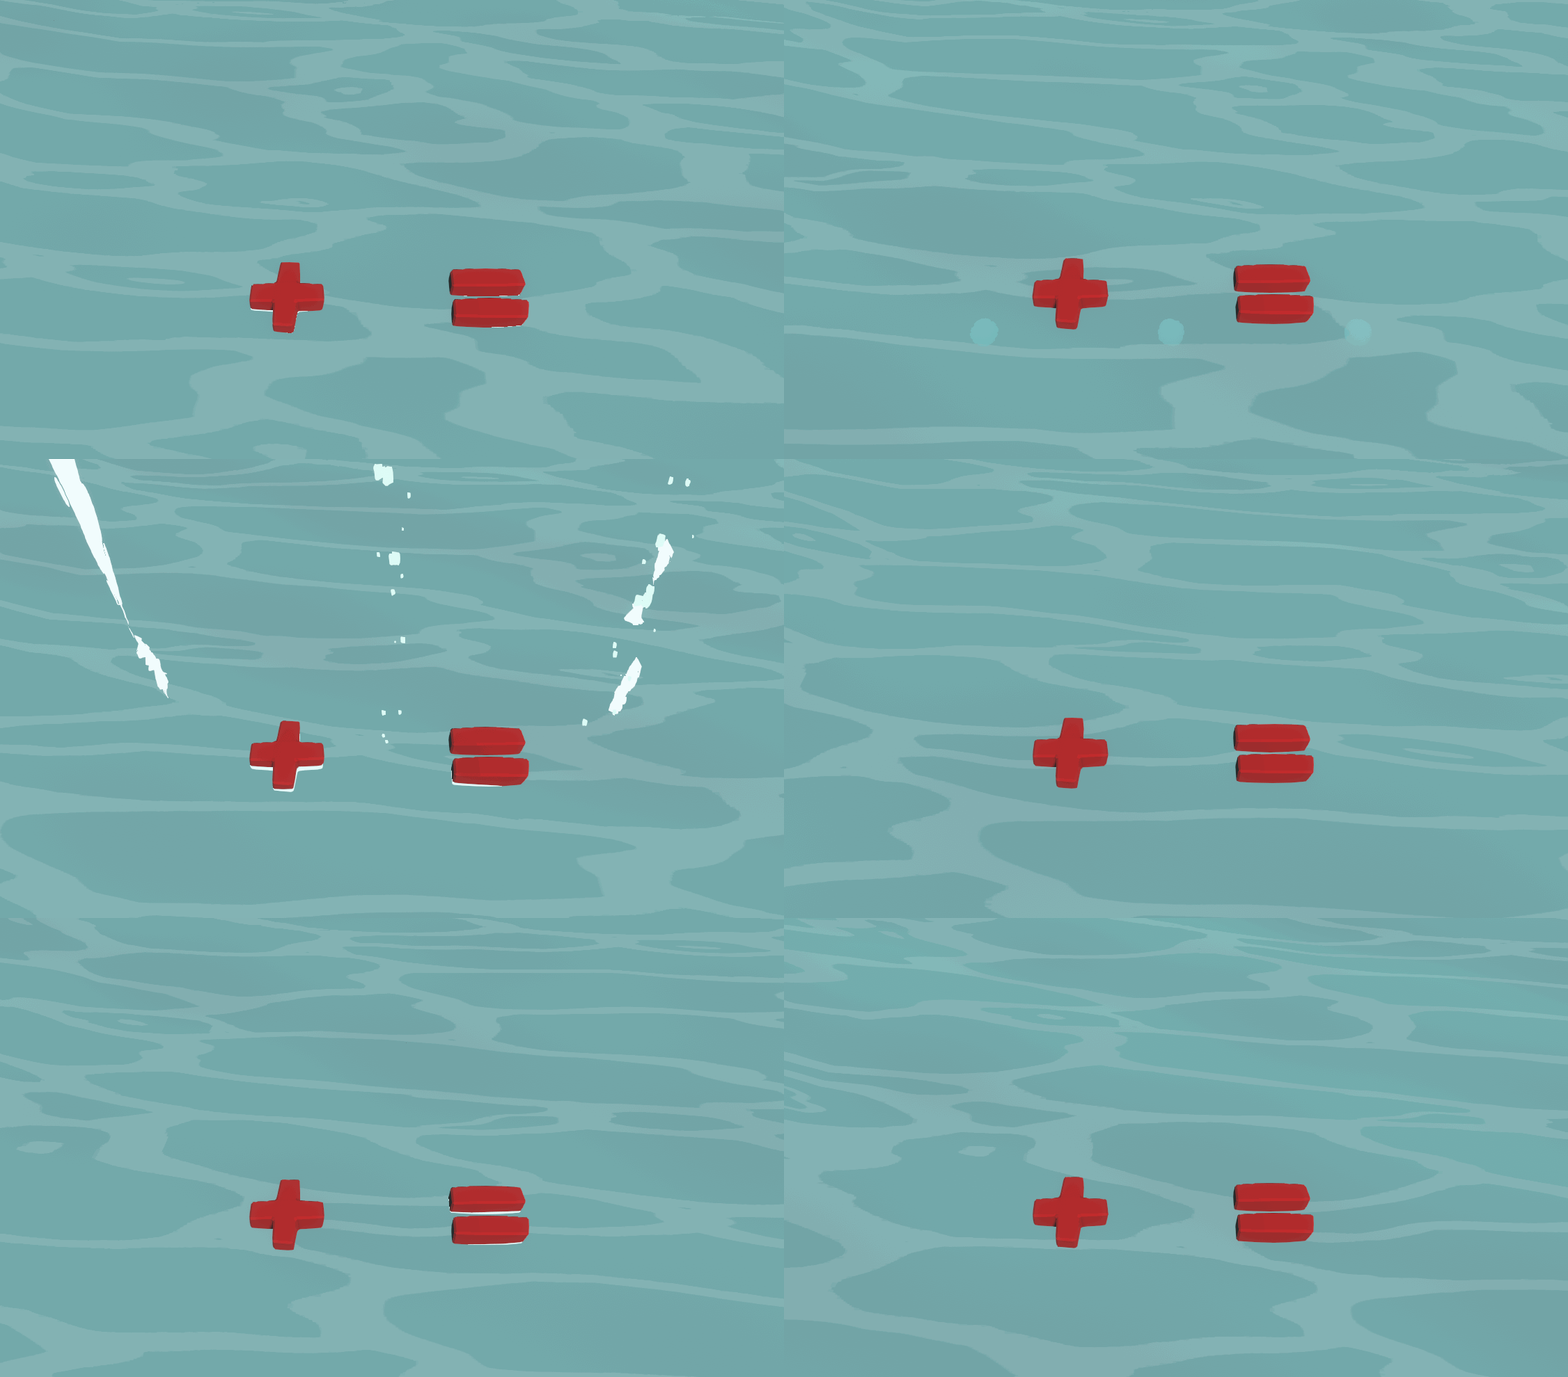
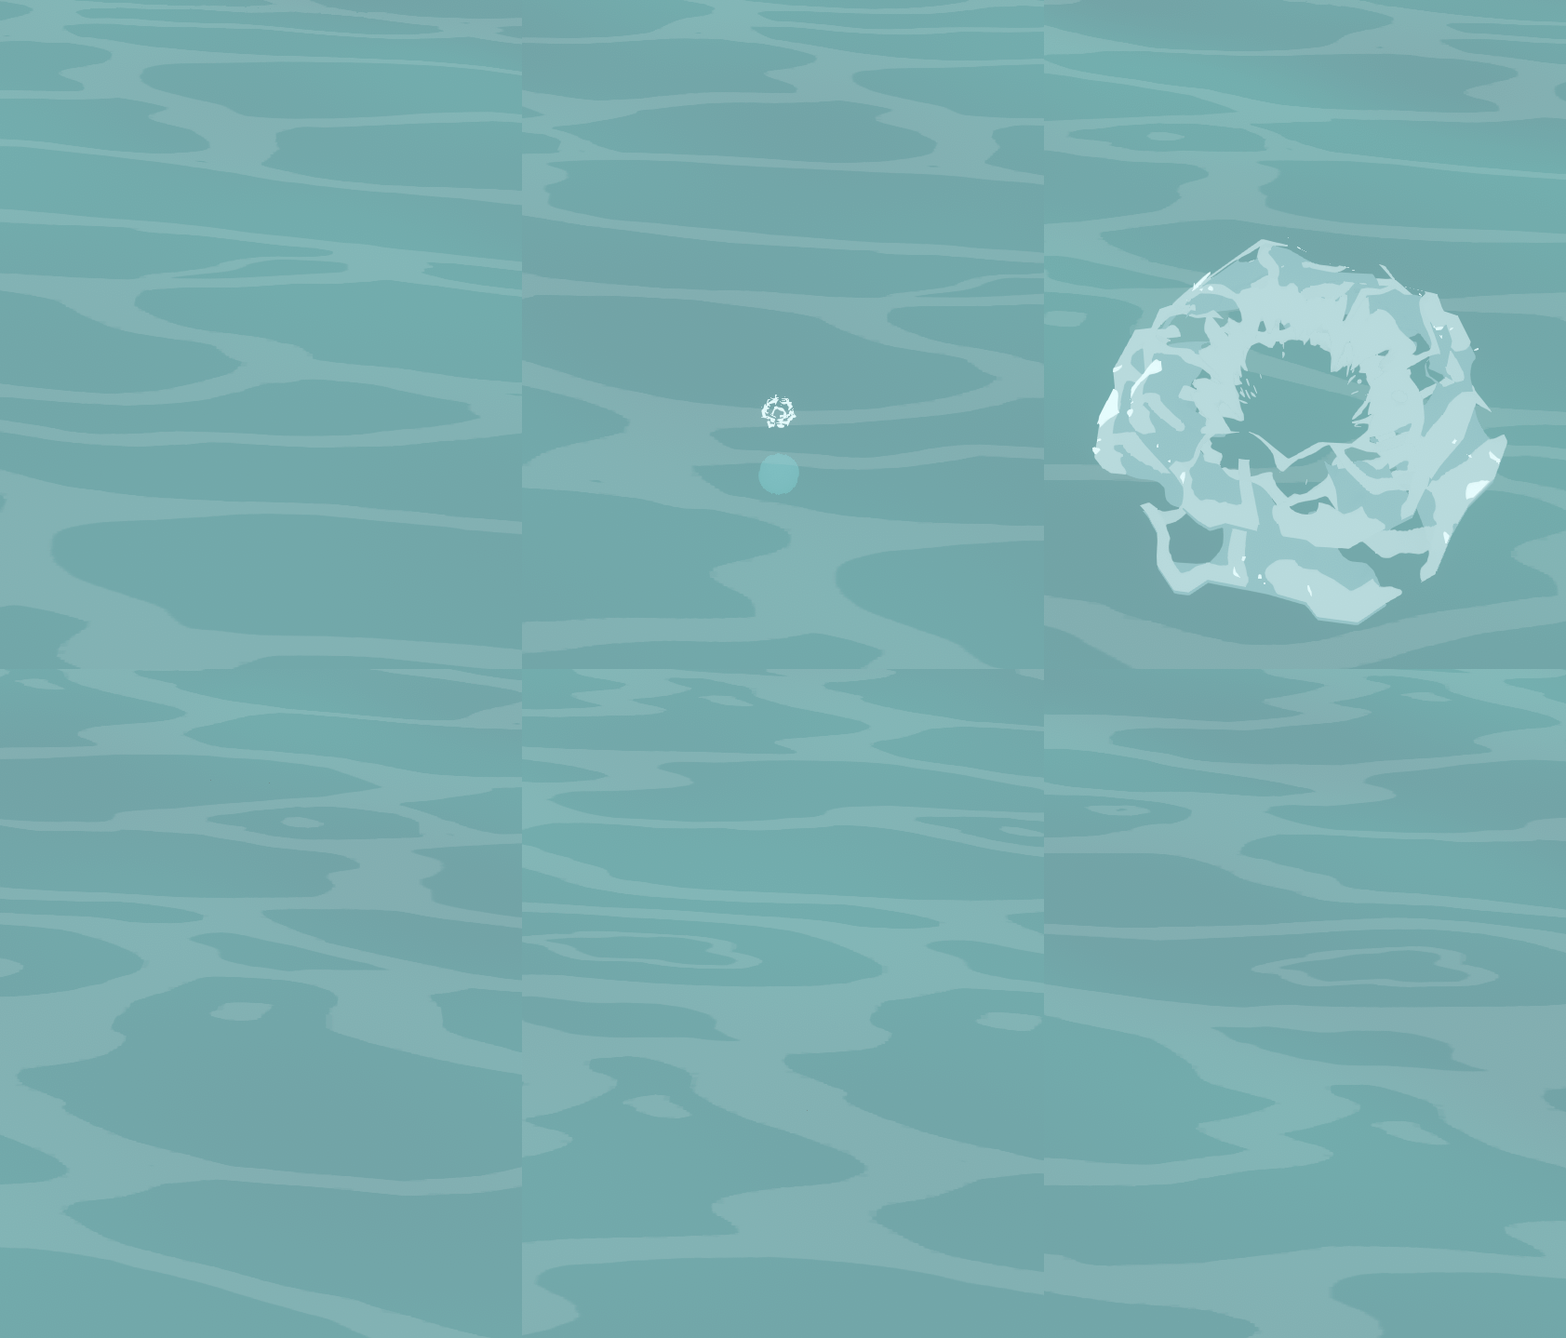
With this we have the main body of our effect, it is time to add a few layers of details, starting with some foam spray going up. These are some simple billboard particles with an upwards velocity and some gravity pulling them back down. The left effect stretches and squashes its billboards as they fall back down to give the impression it breaks up as it loses its velocity.
Water Ripples
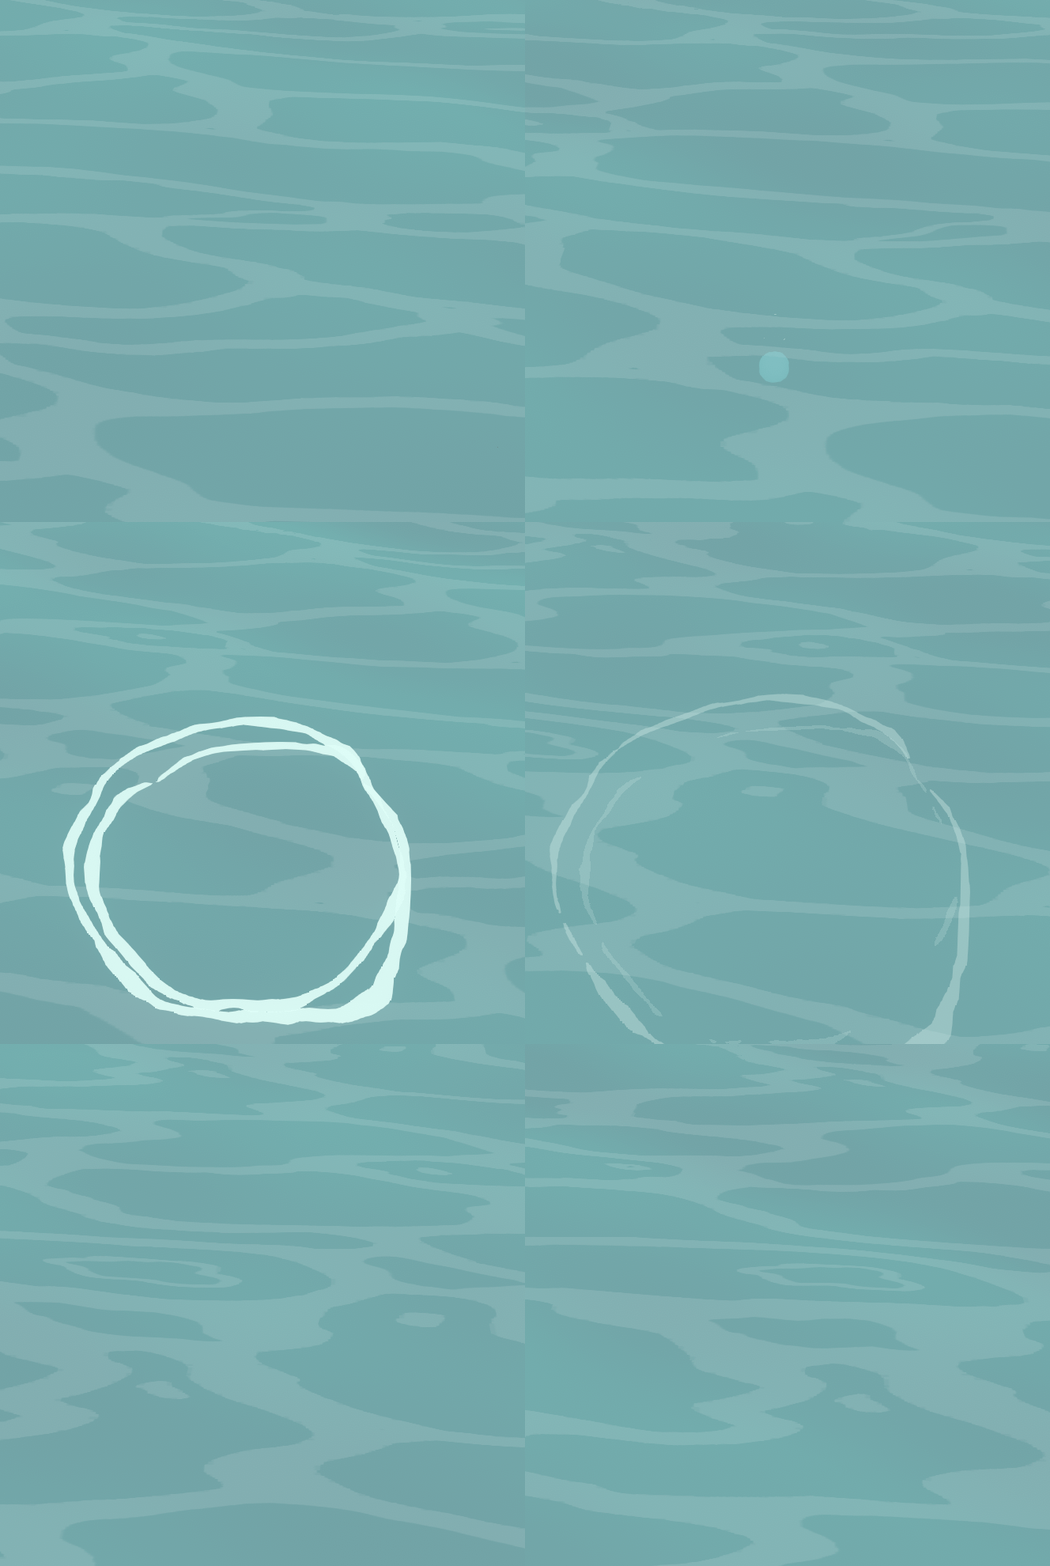
Next up are some simple water ripples to further tie the effect to the water surface. In reality ripples like these would be broken up by the waves of the water surface and thus not visible. This is however a case of meeting the expectation of the viewer rather than sticking to what would actually happen.
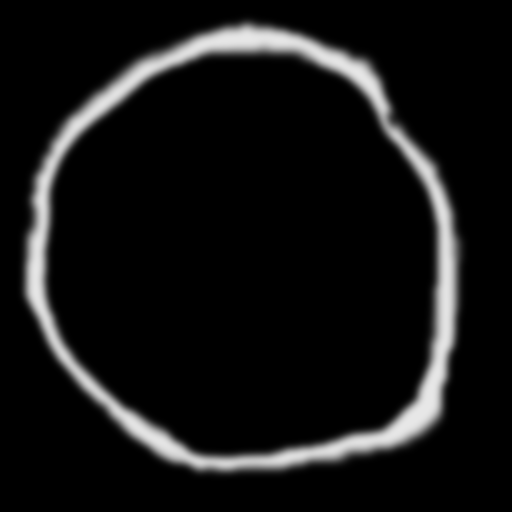
These are some simple billboards that grow over time. Rather than having a hard edge mask, we can create a more soft edge. When we clip this mask and shift the clip offset over time, we give the impression the ripples break up.
Water Drops
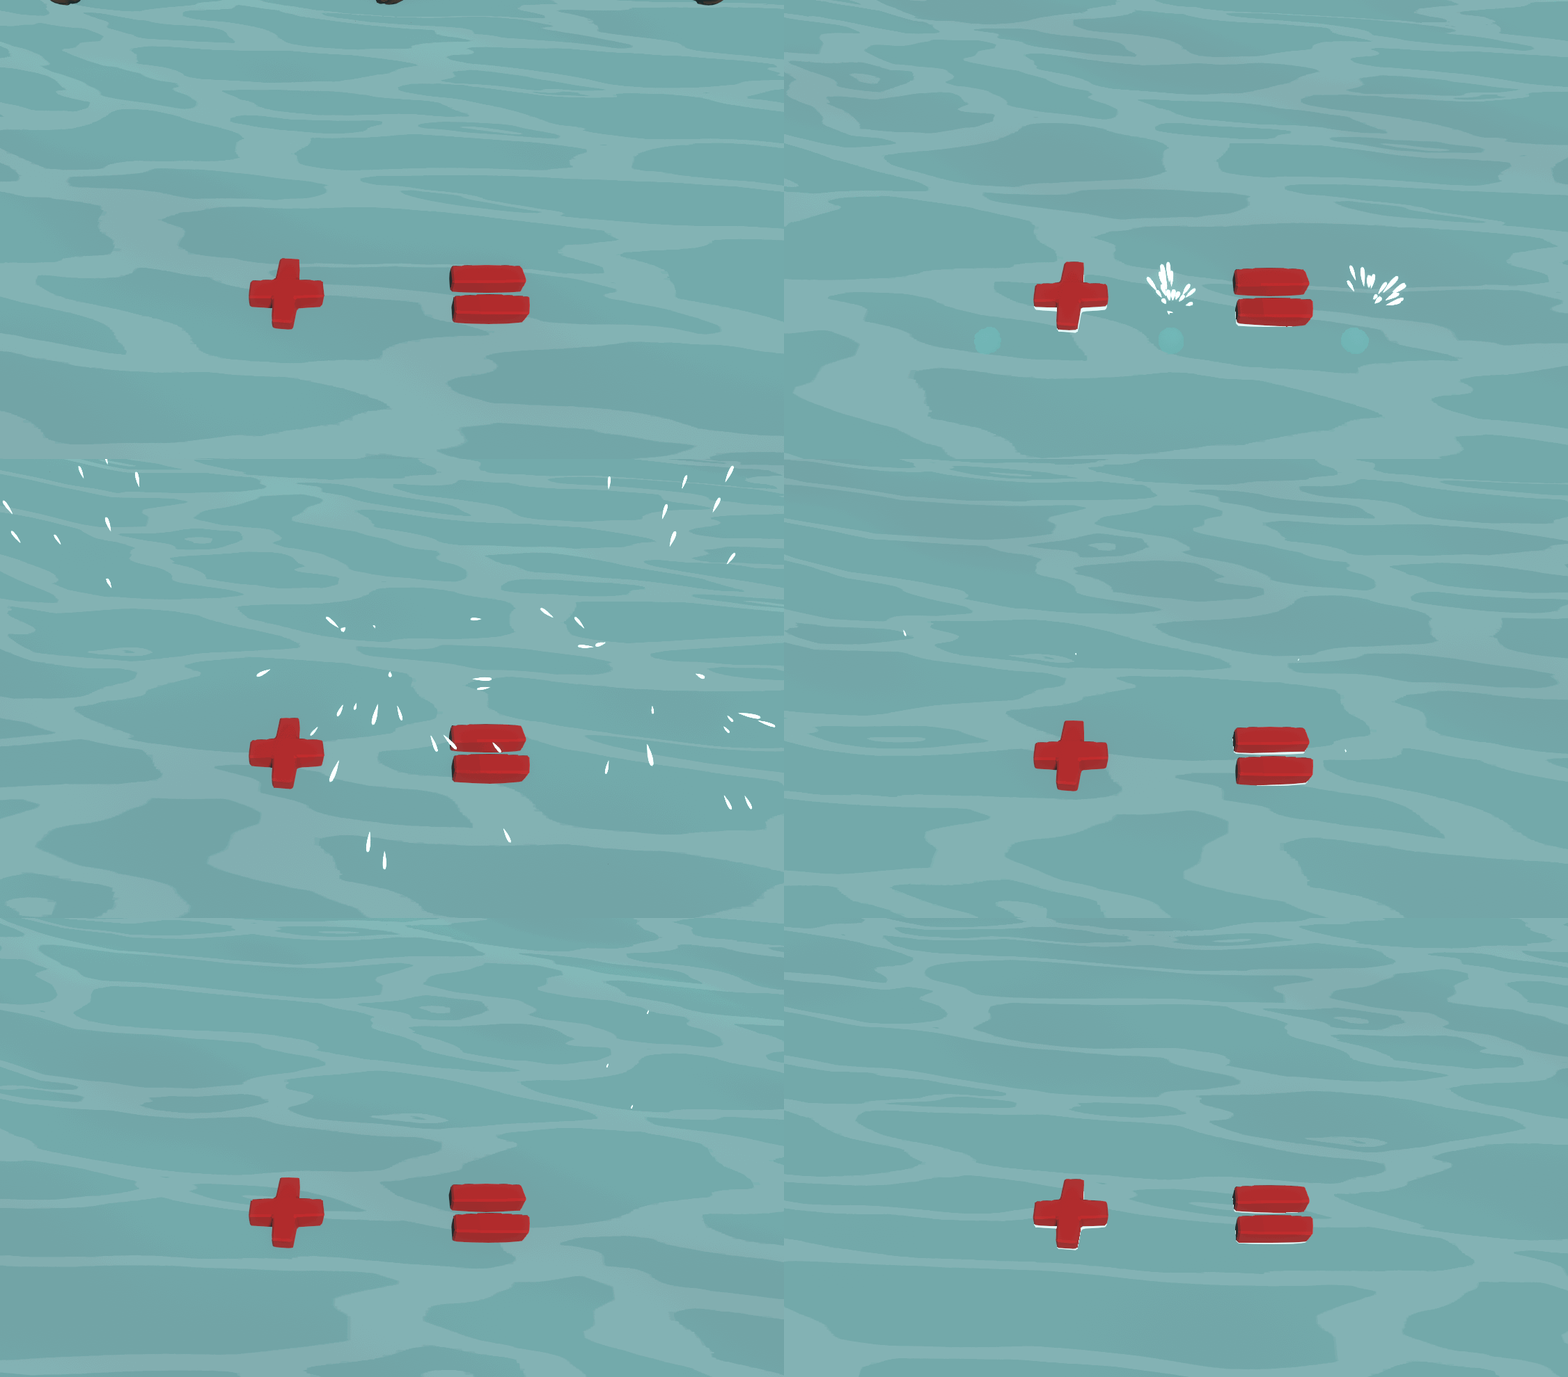
Finally, we add some water drops splashing along the main water bodies, making sure we have some going up and some following the cone shape. These particles are billboards stretching along the movement direction of the particle to create a sense of speed.
Bring all of this together we end up with this:
Closing Thoughts
This concludes this little breakdown of this water splash effect. We use this approach of combining meshes with some animation and shader tricks a lot to create the core of our effects. Geometry can contribute a lot to ensure an effect looks like it has an actual volume associated with it. On top of that, for a small indie studio it has the added benefit that it can be a lot quicker than doing complex simulations to generate flipbooks.
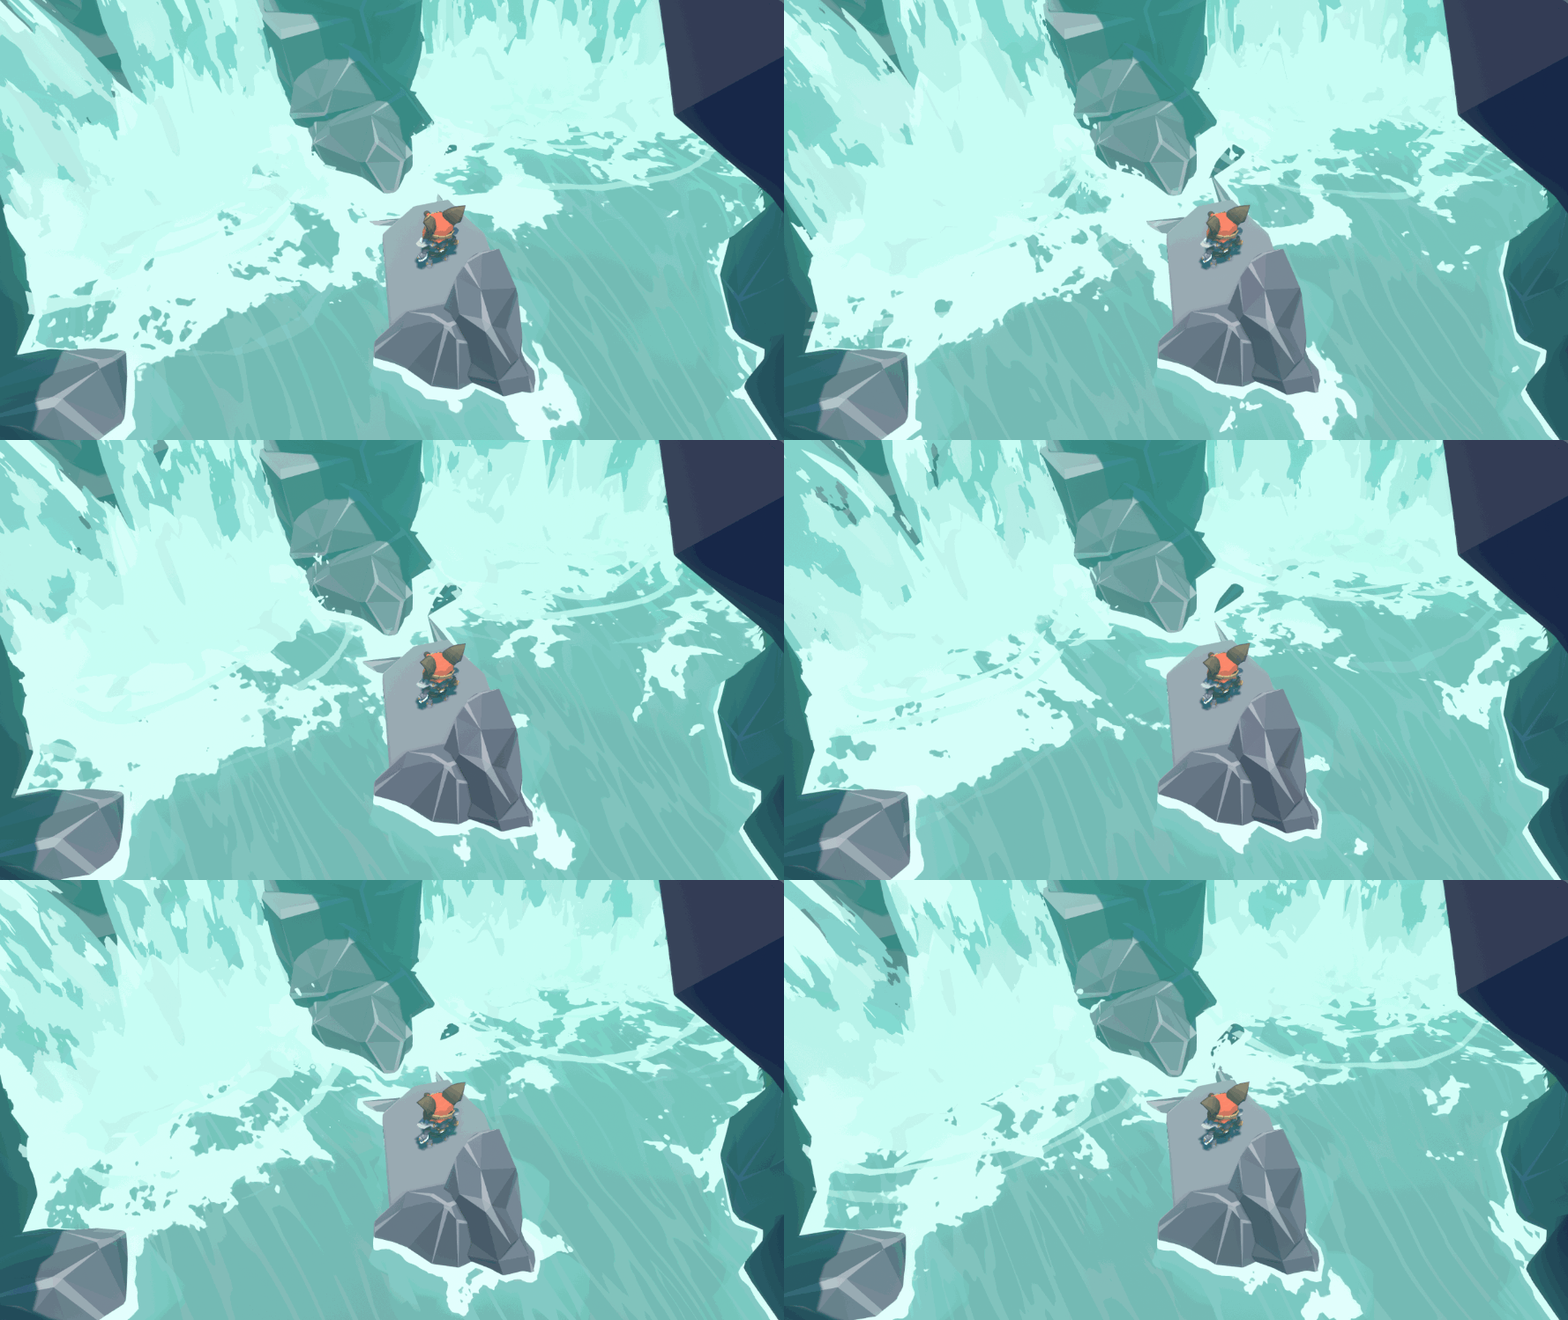
Using some similar tricks and some of the ones Simon discusses in the video linked above we can create waterfalls likes these:
I hope you enjoyed this blogpost and it gave you some inspiration for some effects you might have to create in the future.
Be sure to let us know what you think on our Facebook and Twitter.
I will leave you with a little bit of shameless self promotion, you can now wishlist the game on Steam!
Until next time!
-Emiel

